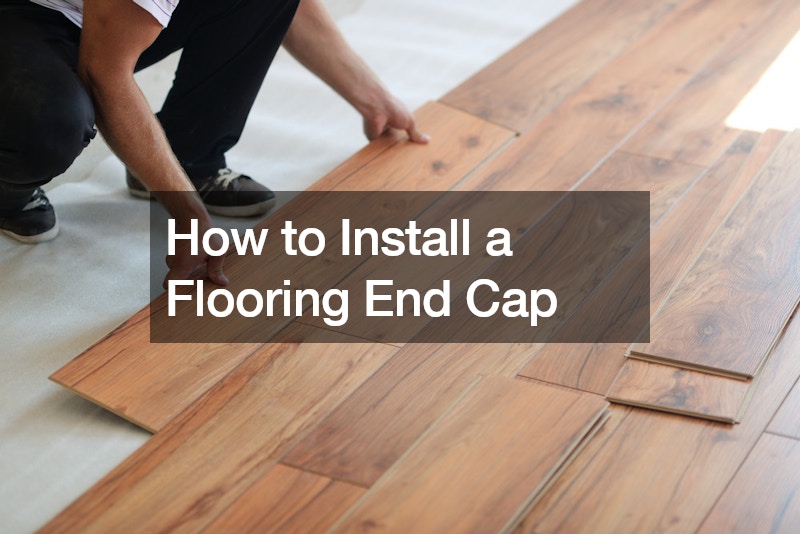


Installing a flooring end cap is easier than you might think. This is because it is a finishing touch that gives your flooring project a tidy and polished appearance, particularly when multiple types of flooring meet, for instance when hardwood flooring and carpet flooring meet or laminate to tile, as stated in the video. Well, to show how simple the process really is, here’s a step-by-step process you can follow when installing a flooring end cap:
First, gather your materials. Among these tools, ensure you have the flooring end cap itself, an adhesive, a measuring tape, and a saw depending on the material of your flooring.
For instance, if it’s hardwood flooring, then you must have a saw. Furthermore, to guarantee a snug fit, measure the width of the space where the end cap will be put and allow for a small overhang.
Secondly, trim the end cap to its ideal size. It’s best if you follow the simple rule of thumb to measure twice and cut once! This way, you’ll make sure the end cap fits your space perfectly. Additionally, ensure that you carefully trim the edges of your end cap using a saw to their necessary length.
Lastly, apply the adhesive. To do so, lightly press the end cap into place by applying a little coating of glue on its underside. This way, the flooring end cap will stick to its proper place without shifting. Moreover, always verify that the end cap is securely fastened and properly positioned.
.

Leave a Reply
You must be logged in to post a comment.