

- Identify the source of the leak first—common causes include loose connections, faulty valves, corrosion, and drain valve issues.
- Minor leaks from valves or loose fittings can often be fixed safely at home; leaks from the tank itself usually require professional help or replacement.
- Step-by-step repairs include turning off power/gas, shutting off water, draining if necessary, tightening connections, and replacing faulty valves.
- Fixing leaks reduces wasted energy by preventing continuous heating, heat loss through escaping water, and inefficiency caused by sediment buildup.
- Regular inspections and maintenance—monthly checks, semi-annual valve tests, and annual tank flushes—can prevent leaks and prolong your water heater’s life.
- Energy efficiency can be improved by lowering the thermostat, insulating the tank and pipes, and using timers or smart controllers.
- Call a professional for leaks from the tank, persistent issues, gas/electrical concerns, or when DIY fixes aren’t enough.
A leaking water heater isn’t just annoying—it can waste water, drive up your energy bills, and even damage your home if ignored. The good news? Many leaks are fixable with some simple steps, and by addressing them promptly, you can also make your home more energy-efficient. In this guide, we’ll cover everything you need to know about identifying, fixing, and preventing water heater leaks.
Why is Your Water Heater Leaking?
Before grabbing tools or calling a plumber, it’s important to know the common causes behind a water heater leaking. Understanding the source can help you decide whether it’s a quick fix or a job for a professional. Leaks usually happen for a few common reasons:
- Loose or corroded connections – Over time, plumbing fittings or valves may loosen or corrode, allowing water to escape.
- Faulty pressure relief valve – If your water heater’s pressure relief valve is damaged or stuck, it can leak water.
- Corrosion inside the tank – Older water heaters may develop rust, leading to small or large cracks in the tank itself.
- Drain valve issues – The drain valve can sometimes leak if it isn’t fully closed or has worn-out seals.
Knowing the source of the leak is crucial because the fix depends on it. Some problems are simple DIY jobs, while others require professional help.
How Can I Find the Source of a Water Heater Leak?
Finding where water is coming from is often the trickiest part. Here’s how to check:
- Visual inspection: Look at the base of the tank, the connections at the top, and the pipes leading in and out. Water may pool under the tank or drip from valves.
- Check the pressure relief valve: If it’s leaking, water will usually come from the side or top of the tank.
- Examine the drain valve: Leaks here are often near the bottom, where the valve screws into the tank.
- Look for corrosion: Rust or wet spots on the tank walls may indicate internal corrosion.
Tip: Dry the area with a towel before checking so you can identify fresh leaks more easily.
Can I Fix a Water Heater Leak Myself?
Yes—but it depends on the type and severity of the leak. Minor leaks from valves or loose connections are often DIY-friendly. Leaks from the tank itself, however, usually mean it’s time for a replacement.
Here are the types of leaks you can safely fix at home:
- Loose plumbing fittings – Tightening connections with a wrench can stop leaks.
- Faulty drain valve – Replacing or tightening the valve can prevent drips.
- Pressure relief valve issues – Replacing a malfunctioning valve is generally straightforward.
Leaks from cracks or corrosion inside the tank usually require a professional or a full replacement. Trying to patch a corroded tank rarely lasts and can be dangerous.
Step-by-Step Guide: How to Fix Water Heater Leaks
Here’s a practical approach to fixing common water heater leaks:
1. Turn Off Power or Gas
- Electric water heater: Switch off the circuit breaker.
- Gas water heater: Turn the gas control valve to “Off.”
This ensures safety while you work.
2. Shut Off Water Supply
- Turn the cold water supply to the water heater off. This prevents more water from escaping while you inspect and repair.
3. Drain the Water Heater (If Needed)
- Attach a hose to the drain valve and direct water to a floor drain or bucket.
- Open a hot water tap in your home to relieve pressure.
Draining the tank is especially important if you’re replacing a valve or dealing with internal corrosion.
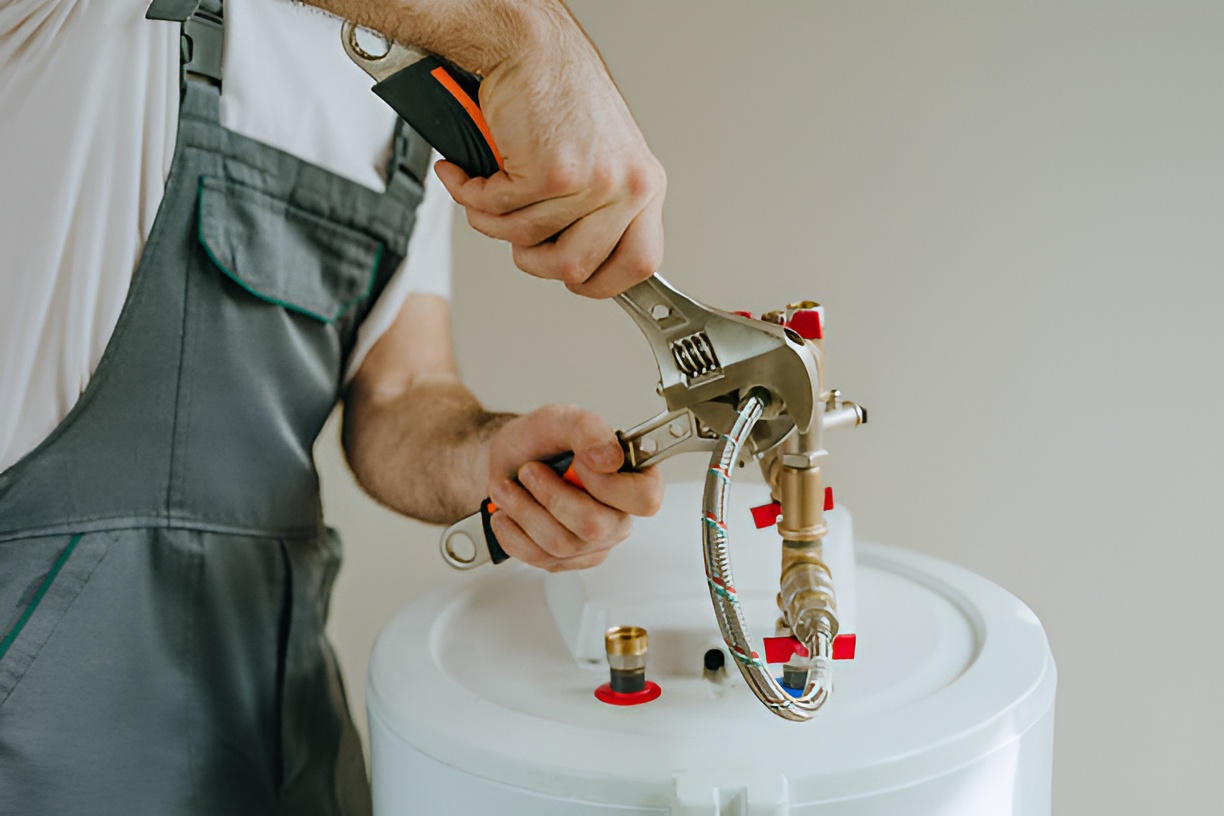
4. Tighten Loose Connections
- Inspect the inlet and outlet connections.
- Use a wrench to tighten any fittings that are dripping.
Tip: Avoid over-tightening, which can damage threads or fittings.
5. Replace the Drain Valve
- Close the water supply.
- Unscrew the old drain valve and replace it with a new one.
- Apply Teflon tape to the threads for a watertight seal.
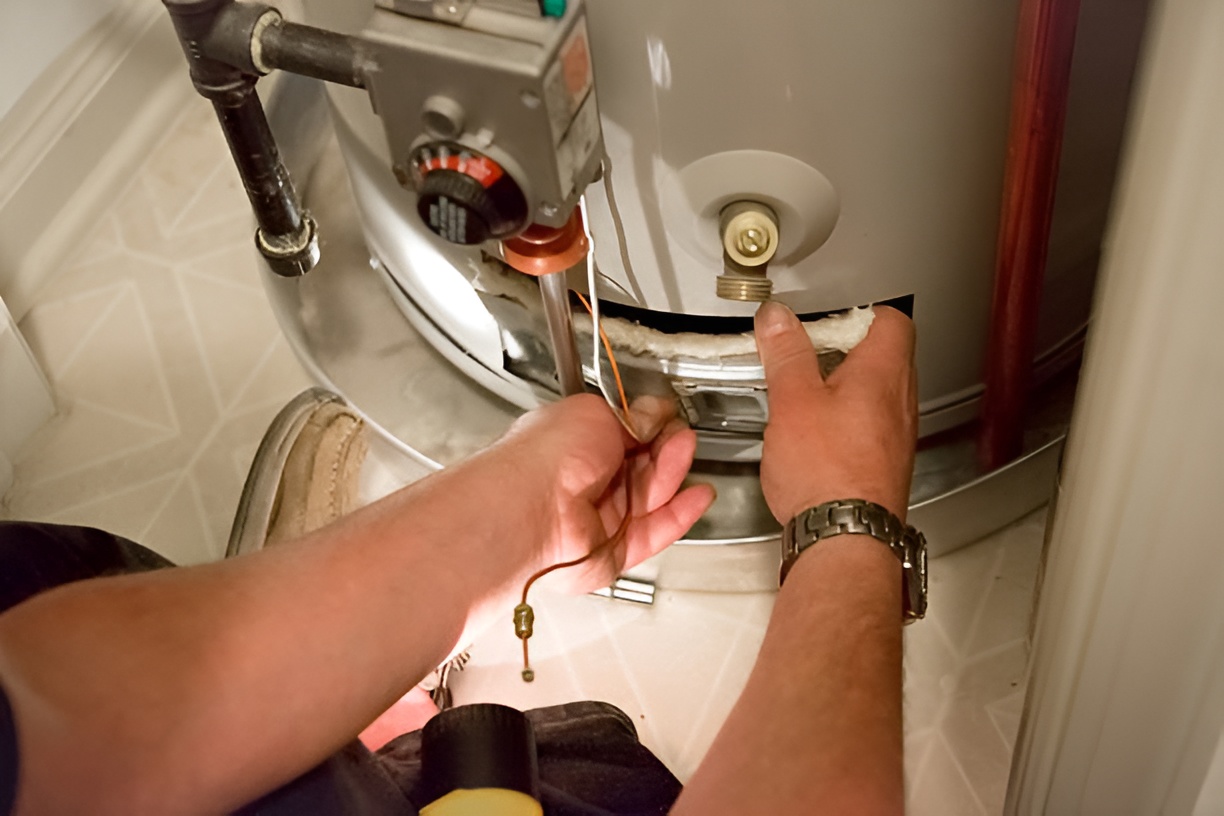
6. Replace the Pressure Relief Valve
- Remove the old valve and install a new one.
- Make sure the discharge pipe is directed toward the floor or drain.
7. Test for Leaks
- Turn on the water supply.
- Slowly open a hot water tap and check all valves and fittings for leaks.
- Turn the power or gas back on once you’re sure everything is tight.
How Can Fixing a Leak Save on Energy Bills?
A leaking water heater wastes more than just water—it can also drive up your energy costs. Here’s why:
- Continuous heating – Water heaters maintain a set temperature. If water is leaking, the heater constantly cycles to heat incoming cold water.
- Energy loss through escaping hot water – Leaks allow hot water to escape, wasting the energy used to heat it.
- Reduced efficiency – Sediment buildup from leaks or corrosion can make your heater work harder, using more electricity or gas.
By fixing leaks, you reduce wasted energy and help your water heater run more efficiently.
How Often Should I Check My Water Heater for Leaks?
Regular checks can prevent major problems. A simple schedule looks like this:
- Monthly: Look for drips or moisture around the base, valves, and connections.
- Every 6 months: Test the pressure relief valve. Lift it slightly to see if water flows.
- Annually: Flush the tank to remove sediment and inspect for corrosion.
Routine maintenance helps prevent leaks and keeps your water heater running efficiently.
What Are Some Signs My Water Heater Needs More Than a Simple Fix?
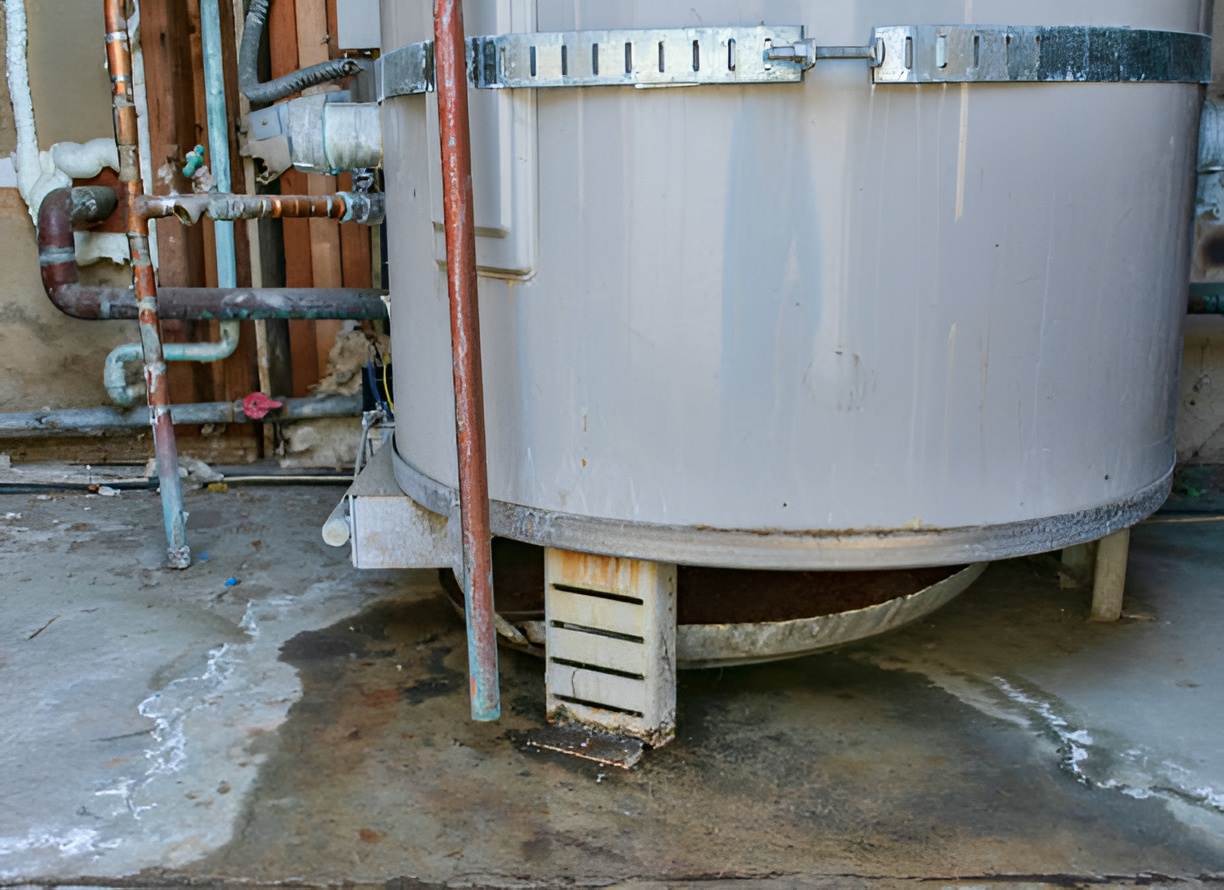
Some leaks indicate bigger problems that DIY repairs can’t solve. Watch out for:
- Rust-colored water from taps
- Cracks or holes in the tank
- Large, persistent puddles under the heater
- Water heater older than 10–15 years
In these cases, it’s safer and more cost-effective to replace the unit rather than patch it.
Can I Prevent Future Water Heater Leaks?
Yes! Preventive care reduces the likelihood of leaks and keeps energy bills lower. Some tips include:
- Check and tighten connections regularly
- Flush the tank once a year to remove sediment
- Replace the anode rod every few years to prevent corrosion
- Maintain proper pressure in your home’s water system
- Keep the area around the water heater dry to spot leaks early
How Do I Make My Water Heater More Energy Efficient?
In addition to fixing leaks, there are ways to save energy and lower bills:
- Lower the thermostat: Set to 120°F (49°C) for comfort and energy savings.
- Insulate the tank and pipes: Reduces heat loss.
- Install a timer or smart controller: Helps manage when water is heated.
- Regular maintenance: Ensures optimal efficiency.
When Should I Call a Professional?
Even with DIY-friendly leaks, sometimes a professional is the safer choice:
- Leaks from the tank itself
- Gas water heaters with complex repairs
- Electrical issues or wiring concerns
- Persistent leaks that don’t stop after tightening or replacing valves
Plumbers can also advise on energy-efficient upgrades when replacing an old water heater.
Final Thoughts
Fixing water heater leaks doesn’t have to be complicated. With the right approach, you can stop leaks, save energy, and protect your home from water damage. Regular maintenance, timely repairs, and smart energy-saving practices go a long way in extending the life of your water heater and lowering your utility bills. By addressing leaks promptly, you ensure your water heater works efficiently, keeps your home safe, and helps you save money every month.